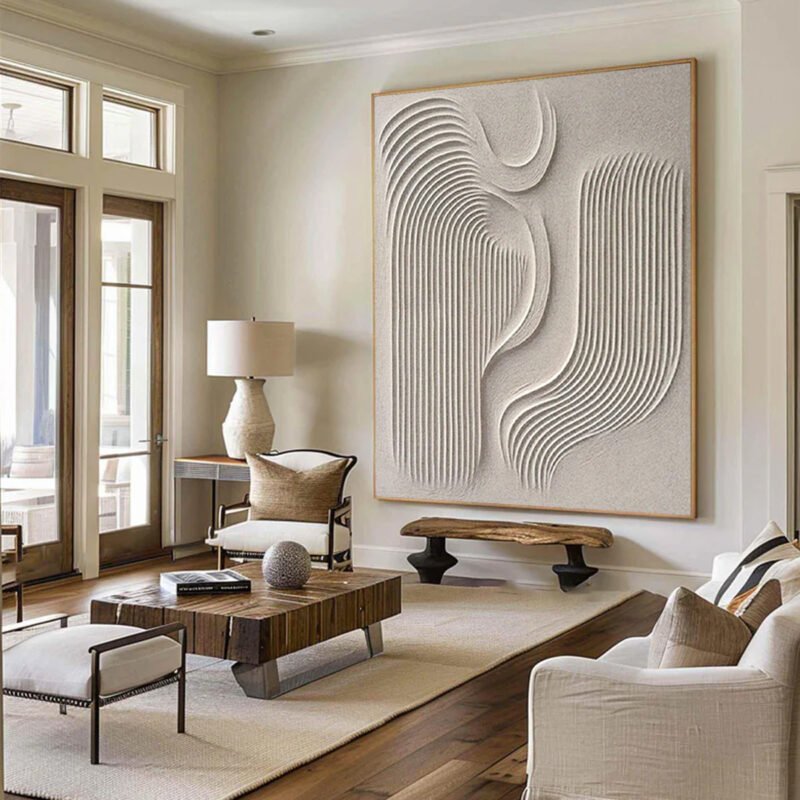
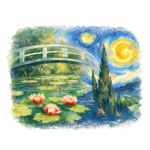
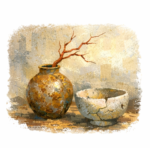
Flat walls are tragic—let a Textured Oil Painting steal the spotlight, catch the light, and make your space hum like a live band.
Textured Oil Painting has a way of stopping you mid-scroll. One second you’re glancing at art online, the next you’re leaning closer, almost itching to touch those ridges and swirls. Flat prints feel like elevator music; texture feels like a live band in your living room. If your walls seem bland or your space lacks soul, that’s the ache talking.
Here’s the rub: buying art can feel like a gamble. Is it worth it? Will it wow in person? Texture answers that doubt. Thick strokes catch light, shift mood, and whisper, “Yeah, I’m the real deal.” When paint stands up off the canvas, your room steps up with it.
Key Points of Textured Oil Painting Essentials
➔ Canvas Prep: Build tooth with multiple gesso layers—or mix in pumice/modeling paste—to grip thick paint.
➔ Medium Mastery: Use stand oil, thickened linseed, or alkyds; avoid excess solvent so strokes hold peaks.
➔ Impasto Technique: Apply wet-on-wet for bold ridges or layered once dry for crisp relief, guided by an underpainting.
➔ Tool Selection: Sculpt with palette knives for sharp edges, bristle brushes for carved trails, and texture pastes for dramatic relief.
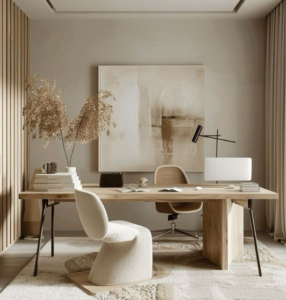
Screenshot 2026 04 16 110150 584
5 Proven Steps! Master Textured Oil Painting Basics
Textured Oil Painting blends bold oil pigment with sculpted texture, turning flat canvas into raised, touchable art. In this guide, oil painting texture meets practical studio habits, so your textured oil artwork feels confident, not messy.
Preparing Your Canvas for Rich Texture
Strong canvas preparation sets the mood for every Textured Oil Painting. If the base fails, thick oil paint cracks. Keep it simple but layered.
- Choose durable canvas types like heavy cotton or linen.
- Apply even gesso application with wide strokes.
- Build solid primer coats for better surface adhesion.
Then refine the ground through structured layering:
- Base Layer
- Thin gesso spread evenly.
- Dry fully before moving on.
- Texture Layer
- Mix gesso with texture mediums such as pumice.
- Use intentional sanding techniques between coats.
- Grip Check
- Run fingers lightly across the surface.
- Slight resistance means your textured oil surface is ready.
Textured Oil Painting depends on this tooth. No grip, no drama.
Choosing the Right Oil Medium to Build Body
Oil and texture go hand in hand. The body of your paint defines the character of Textured Oil Painting.
Core oil mediums to consider:
- Linseed oil for flexibility
- Alkyd mediums for faster drying time
- Dedicated impasto medium for extreme paint viscosity
Below is a practical comparison for oil painting texture control:
| Medium Type | Viscosity Level (1–5) | Avg. Drying Time (Days) | Ideal Paint Thickness (mm) |
|---|---|---|---|
| Linseed Oil | 3 | 4–7 | 1–2 |
| Stand Oil | 4 | 5–8 | 2–3 |
| Alkyd Medium | 3 | 1–3 | 1–2 |
| Impasto Medium | 5 | 3–6 | 3–6 |
For bold Textured Oil Painting, match medium consistency to your style. Thick medium, higher peaks. Simple math.
Artists working with Nuvia Art materials often combine alkyd and impasto medium for controlled yet expressive textured oil effects.
Applying an Underpainting to Guide Your Relief
Underpainting gives structure to Textured Oil Painting before heavy paint lands.
Build it in layers:
- Sketch an initial sketch using thinned umber.
- Establish a clear value study.
- Lock shadows into early tonal layers.
Then refine depth through a nested process:
- Color Blocking
- Use muted earth tones.
- Focus on big shapes.
- Relief Mapping
- Mark highlight zones for future raised paint.
- Indicate shadow troughs.
- Light Glaze
- Add thin transparent glazes to unify tones.
This stage keeps textured oil painting intentional instead of chaotic.
Sculpting Paint with Impasto Techniques
Impasto defines Textured Oil Painting at its core.
Start with tools:
- Palette knife for bold ridges
- Stiff brushes for aggressive brushwork
Build structure like this:
- Base Mass
- Lay thick paint thickness in focal zones.
- Sculpt Phase
- Push and lift, actively sculpting paint.
- Maintain consistent texture application.
- Elevation Control
- Reinforce key highlights with raised paint.
- Leave shadow areas flatter for contrast.
Short strokes. Confident pressure. No timid moves. Textured Oil Painting thrives on commitment.
Refining Surface Details for Finished Depth
After drying, details bring maturity to Textured Oil Painting.
Enhance with layered refinement:
- Tone Adjustment
- Apply light glazing techniques to unify color blending.
- Subtle scumbling softens harsh transitions.
- Highlight Strategy
- Use precise fine brushwork.
- Target upper ridges only.
- Final Touches
- Balance overall surface details.
- Adjust micro-contrast in layered zones.
Textured Oil Painting at this stage feels alive. Thick oil painting texture catches light from every angle. Many emerging artists using Nuvia Art tools find this polishing phase turns good textured oil work into gallery-ready textured oil artwork.
Keep it bold. Keep it layered. That’s the heartbeat of Textured Oil Painting.
4 Tools Every Textured Painter Needs
Textured Oil Painting sounds fancy, but at its core it’s about pushing oil paint around until it feels alive. Break the phrase down—Textured. Oil. Painting. Each word matters. In Textured Oil Painting, surface is king, oil paint is muscle, and painting is your playground. Let’s get into the tools that make thick, textured painting actually work.
Palette Knife: Your Sculpting Partner
When you’re building Textured Oil Painting on a raw canvas, the palette knife becomes more than a spreader—it’s your sculpting sidekick. Think of it in layers.
- Core Uses
- Spreading thick paint across the surface
- Scraping back oil paint to reveal underlayers
- Stacking color for bold texture
- Knife Shapes and Effects
- Long blade → wide, architectural sweeps
- Small diamond tip → sharp ridges and tight sculpting
- Rounded edge → smoother application with broken color
- Pressure Control
- Light drag: soft peaks
- Firm press: deep grooves
- Quick lift: jagged edges
In textured oil painting, sculpting isn’t delicate. It’s physical. Load up the palette knife, push the oil paint hard, then pull away fast. That snap creates natural ridges that dry into real relief. This is where textured painting stops being flat and starts feeling carved.
Fan Brush for Feathery Transitions
In Textured Oil Painting, not every moment should scream. Some parts whisper. That’s where the fan brush steps in.
- Soft Control
- Blend wet oil paint without crushing raised texture
- Create feathery strokes in skies or distant trees
- Smooth edges while keeping surface life
- How to Handle It
- Keep the brush nearly flat
- Barely touch the paint
- Drag in one direction for soft transitions
- Medium Balance
- Too much medium flattens relief
- Too little makes the hair skip awkwardly
In thick oil painting, this brush is your chill friend. It calms chaos. It lets textured oil painting breathe between bold knife marks and heavy sculpting.
According to the 2025 Global Art Materials Report by Statista, demand for specialty brushes for oil paint grew by over 6% year-over-year, reflecting rising interest in textured and dimensional painting techniques.
That tracks. Artists want surface. And control.
Bristle Brush to Carve Paint Trails
Textured Oil Painting thrives on motion. A bristle brush gives you that raw, gritty energy.
- Surface Impact
- Stiff bristles carve visible paint trails
- Pressed into wet impasto, they leave directional grooves
- On primed canvas, they grip and drag beautifully
- Stroke Strategy
- Load with dense oil paint
- Press firmly
- Pull in one confident move
Short pull. Strong mark. Stop.
In textured oil painting, hesitation shows. Commit to the stroke and let the bristles do the talking. The scratches and ridges aren’t mistakes—they’re personality baked into thick oil paint.
Texture Paste for Dramatic Relief
Textured Oil Painting gets serious height when you introduce texture paste. This is where surface turns sculptural.
- Base Preparation
- Apply texture paste with knife or old brush
- Shape peaks, ridges, and cracks
- Respect drying time before adding color
- Material Pairing
- Mix with acrylic medium for flexibility
- Paint over with rich oil paint once cured
- Use thin glazes to highlight raised relief
- Dimensional Planning
- Build background height
- Let it dry fully
- Layer oil paint to enhance dimensional shadows
Thick oil painting becomes something you can almost touch. Light hits the relief differently throughout the day. Textured Oil Painting isn’t just seen—it’s felt.
Palette Knife vs. Brush Textures
Textured Oil Painting breaks paint free from flat surfaces and lets it breathe. When oil paint builds up into ridges and grooves, every mark counts. In textured oil painting, tools shape mood fast.
Palette Knife
In Textured Oil Painting, the palette knife shifts paint from smooth color to physical matter. It pushes, lifts, and carves thick oil paint into bold terrain.
- Core impact on oil painting texture
- Surface Build-Up
- Uses impasto to create heavy thick paint ridges
- Encourages visible paint layering without soft transitions
- Edge Definition
- Sharp edge control forms clean color blocks
- Ideal for strong horizon lines in textured oil artwork
- Material Presence
- Turns texture application into literal relief
- Feels like sculpting paint rather than brushing it
- Surface Build-Up
- Load knife with dense pigment.
- Press firmly for peak formation.
- Drag lightly for broken texture.
| Technique Type | Average Paint Thickness (mm) | Drying Time (Days) | Visual Depth Level (1–5) |
|---|---|---|---|
| Flat Knife Lay | 1.5 | 3–4 | 2 |
| Heavy Impasto | 3.0 | 5–7 | 5 |
| Layered Blocks | 2.2 | 4–6 | 4 |
Short strokes feel punchy.
Broad sweeps feel dramatic.
Quick scrapes add raw energy.
In Textured Oil Painting, this tool thrives in abstract passages and layered color fields. The oil painting texture stays bold, almost loud, and textured oil surfaces catch side light like crazy.
Brush
Brushwork in Textured Oil Painting speaks in accents rather than shouts. It shapes oil paint through pressure shifts and bristle flexibility.
- Mark Variety in textured oil painting
- Bristle Response
- Natural fibers leave clear bristle marks
- Synthetic tips soften paint blending
- Surface Effects
- Light taps create stipple patterns
- Sparse pigment achieves dry brushing
- Side sweeps build scumbling haze
- Motion Control
- Wrist turns guide stroke variation
- Pressure changes adjust oil painting texture depth
- Bristle Response
• Light touch for airy blends
• Firm push for rugged texture
Long passes smooth transitions across textured oil layers, while short jabs build rhythm. In a Textured Oil Painting, brushes handle subtle shifts in tone that a knife might overpower.
Textured Oil Painting gains flexibility here.
Oil paint flows easier.
The textured oil surface feels alive, not forced.
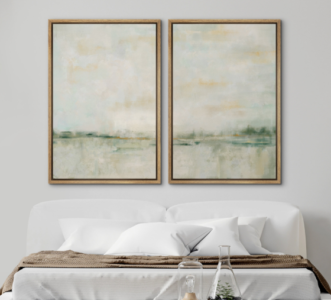
Screenshot 2026 04 16 110109 104
Landscape Textures: Rock and Tree Bark
Textured Oil Painting brings raw outdoor surfaces right onto your canvas. When oil painting texture gets bold and physical, rocks feel solid and bark feels rough enough to touch. In this Textured Oil Painting guide, you’ll build depth with simple tools and smart layering, no fluff.
Rugged Rock Effects
Creating convincing stone in Textured Oil Painting starts with material control and attitude. Rocks are messy. Your paint should be, too.
- Core tools for impact:
- palette knife for sharp edges
- heavy impasto strokes for raised planes
- dense thick paint straight from the tube
- Surface Preparation
- Prime the canvas lightly.
- Add texture paste or modeling paste in uneven patches.
- Let some areas stay thin to avoid a flat oil painting texture.
- Building Rock Mass
- Load a palette knife with gray mixed with ochre.
- Press hard, then lift abruptly to form fractured ridges.
- Drag sideways for sediment-like layers.
- Use scumbling to soften one edge.
- Apply a light dry brush sweep to suggest erosion.
- Deepening Crevices
- Mix a darker glaze.
- Push pigment into cracks.
- Wipe raised areas gently so shadows stay tucked inside.
At Nuvia Art, artists often push impasto beyond comfort level. That bold buildup is what makes Textured Oil Painting feel alive instead of polite. If the surface looks slightly chaotic up close but solid from a few steps back, you nailed it.
Intricate Bark Patterns
Tree bark in Textured Oil Painting isn’t about drawing lines. It’s about rhythm, pressure, and layering thick paint with control.
- Essential tools:
- stiff bristle brush
- fine tool for sgraffito scratches
- soft brush for glazing
- Base Layer
- Block in earthy browns.
- While paint is wet, drag a bristle brush vertically.
- Shift pressure to form natural grooves.
- Defining Texture
- Use sgraffito to carve thin cracks.
- Keep some lines shallow.
- Cut others deeper for contrast.
- Add subtle stippling around knots.
- Blend edges with light scumbling.
- Use sgraffito to carve thin cracks.
- Refining Details
- Apply transparent glazing to darken recesses.
- Add fine lines for splits in aging bark.
- Soften transitions using gentle feathering.
Short strokes. Pause. Step back. Add more.
That stop-and-go rhythm keeps textured oil art from looking forced. Nuvia Art encourages layering slowly, letting each pass of thick paint settle before the next move. In strong Textured Oil Painting, bark doesn’t just sit on the canvas. It grips it.
FAQs about Textured Oil Painting
What makes a Textured Oil Painting stand out in a living space?
A Textured Oil Painting does more than hang quietly on a wall—it shifts with the light and mood of the room.
- Thick impasto ridges catch sunlight in the morning and glow under lamps at night.
- Knife marks and bristle grooves reveal the artist’s hand, almost like a signature in motion.
- Dense oil pigments add warmth that feels intimate rather than decorative.
In a calm room, the surface whispers; in a dramatic setting, it almost roars. That physical depth gives the artwork a pulse prints simply can’t imitate.
How is the canvas prepared for rich texture and lasting depth?
The strength of a Textured Oil Painting begins beneath the visible surface.
- Foundation build-up – Multiple gesso layers create grip. Some artists mix in pumice or modeling paste for added tooth.
- Tonal underpainting – Light and shadow are mapped out before heavy paint is applied, guiding every raised stroke.
- Structural layering – Thick oils are sculpted with palette knives and bristle brushes, forming peaks and valleys.
Without this preparation, texture can crack or lose harmony. Just as a poorly coded site might display errors like:
Warning: Undefined array key “candidates” in /www/wwwroot/test.com/ddseo/hexin-sp-h.php on line 89
Deprecated: str_replace(): Passing null to parameter #3 ($subject) of type array|string is deprecated in /www/wwwroot/test.com/ddseo/hexin-sp-h.php on line 91
—weak foundations show. Solid groundwork keeps the painting visually powerful for years.
Screenshot 2026 04 16 110045 741
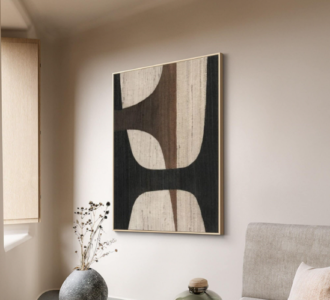
Why invest in a Textured Oil Painting instead of a print?
A print offers an image. A Textured Oil Painting offers presence.
- Raised pigment creates shadows you can see from the side.
- Each stroke records a human decision—pressure, speed, emotion.
- No two surfaces are ever identical, even in similar compositions.
Stand close and you notice ridges like small cliffs; step back and those same ridges form a unified scene. That tension between detail and distance is deeply human—and impossible to duplicate mechanically.